Maintaining an active social media presence can be a challenge, especially for busy entrepreneurs and online marketers who are relentlessly looking for ways to stay in touch with their online communities. This is why you should learn how to schedule your social media posts. With this feature, you can still post content to your social media accounts without having to be online all the time.
Scheduling social media posts used to require third-party tools and apps, until Meta enabled the feature on Instagram. Now, all you need is your laptop and the images or videos you want to post. Here’s how to schedule your social media posts:
How to schedule your Instagram posts
- Login to your Instagram and Facebook accounts on your web browser. You have to ensure that your Instagram account is a Creator or Business account in order to schedule posts. If it’s in Personal mode, you’ll have to convert it first. Find how to do that here.
2. Go to the Facebook Creator Studio web page and click on the Instagram icon at the top of the screen.
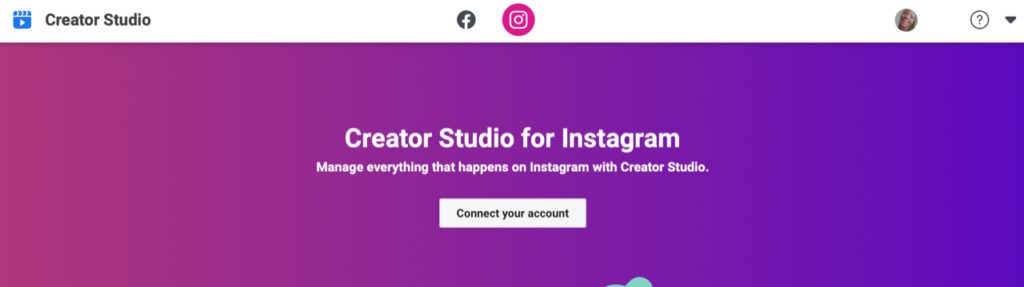
3. Click “Connect Your Account”. You may be asked to log into Instagram again. In that case, enter your username and password then click “Log In”. You should now see all of your Instagram account’s previous posts collected within Facebook Creator Studio. Click “Create Post” to access the Instagram scheduler and automate a post.
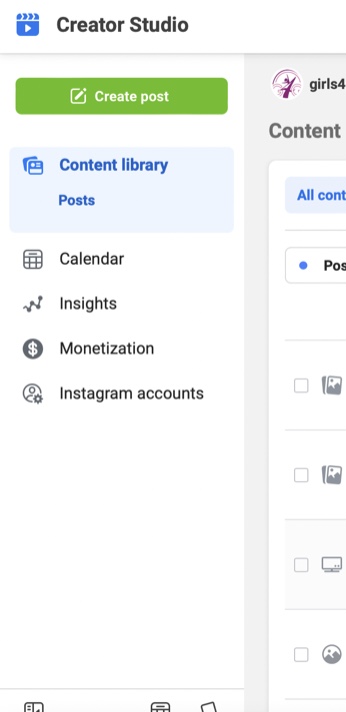
4. Click “Instagram Feed” to create a regular post that will appear on your Instagram profile and then click on “Add Content” to upload images or videos for your scheduled post.
5. There are 3 edit icons under your uploaded media. Use them to crop, delete, or tag other Instagram accounts.
6. Enter your caption and hashtags in the field under your post. If you want your post shared to Facebook, scroll down to the bottom of the page and check the box beside the Facebook icon.
7. Click the arrow just beside the “Publish” button. Other options will pop up, click on “Schedule.” Please note that you shouldn’t click on Publish.
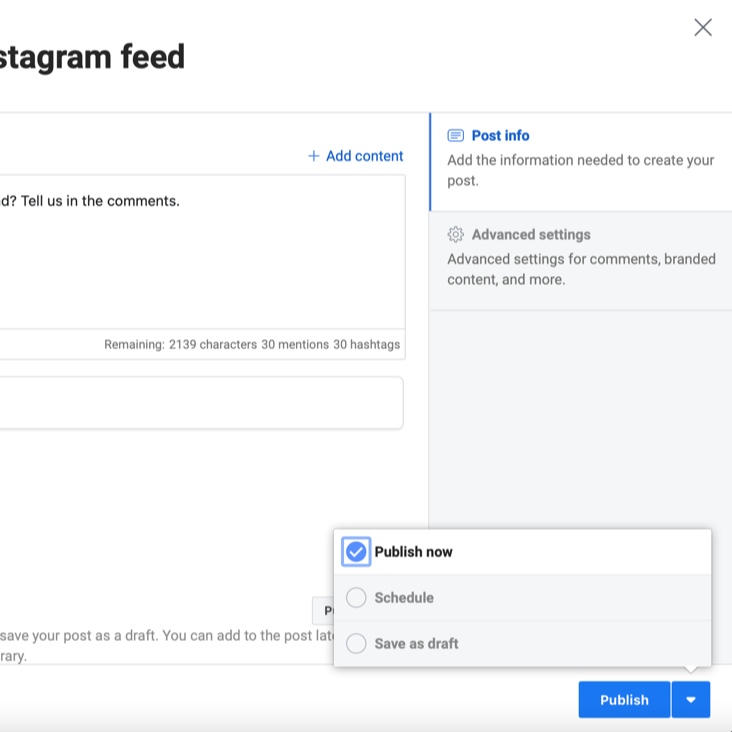
8. Enter your preferred date and time into the Instagram scheduler and click on “Schedule”.
How to schedule your twitter posts
- Open twitter.com on your phone or computer and login to your account. The schedule feature is only available for the web version of Twitter and not the app.
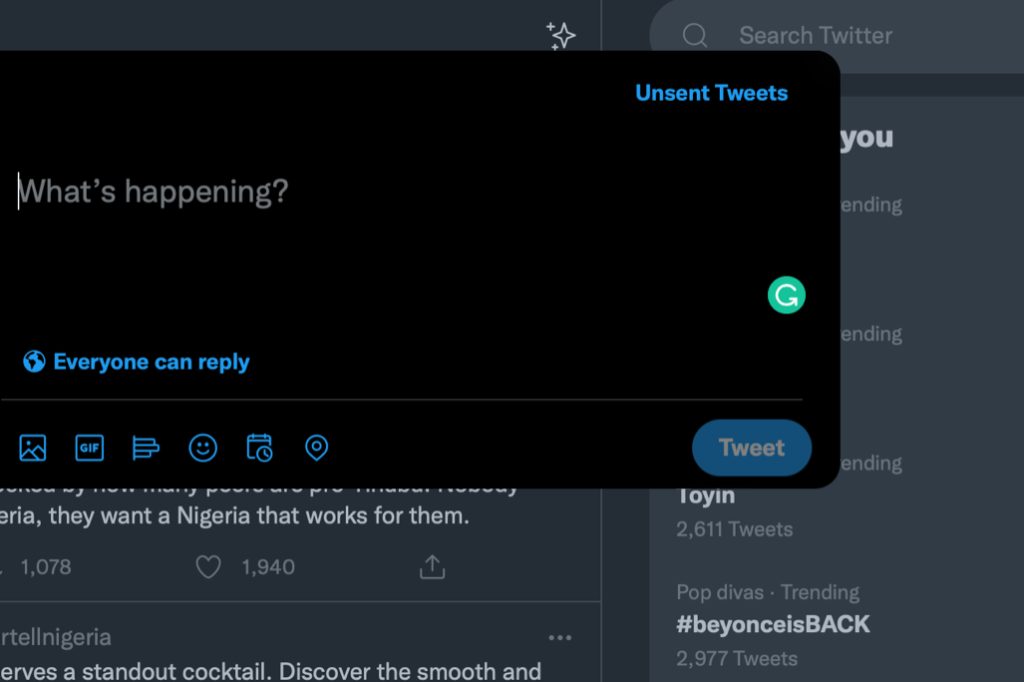
2. Click on the “Compose Tweet” icon (this looks like a quill feather) and create the tweet you want to schedule. You can add all your images, videos, GIFs, and hashtags as usual.
3. Click on the calendar option below, which is right next to the image and GIF icons.
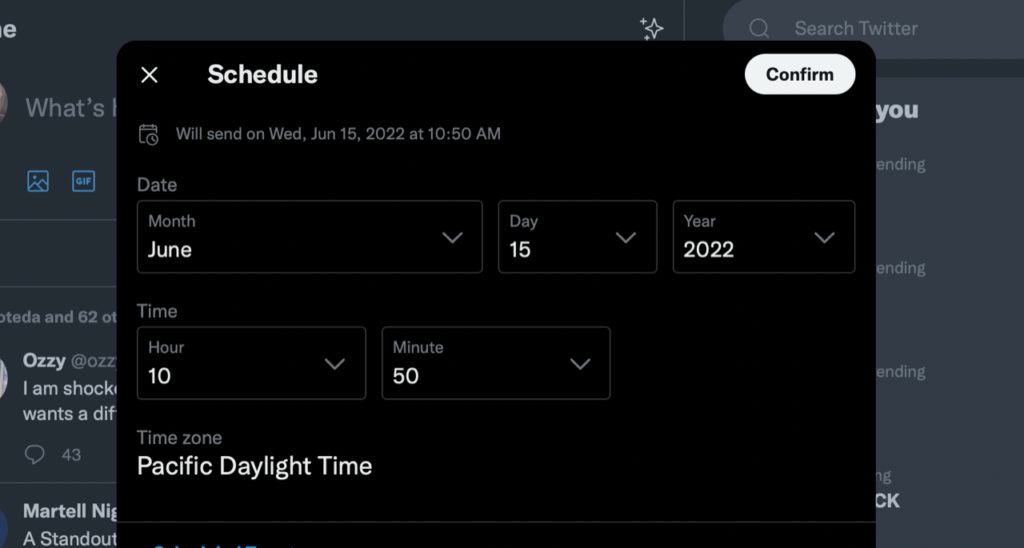
4. Enter the date and time at which you want your tweet to be published. After that, just click “Confirm”.
5. You can repeat the steps for as many tweets as you’d like to schedule.
Scheduling posts on Instagram can save you time. If you’re a busy influencer, entrepreneur or marketer, it’s much easier for you to set aside a couple of hours to schedule all of your social media posts for the next few weeks. This way, you have more time to monitor your accounts. Scheduling posts also makes it easier to stick to a theme as opposed to coming up with individual content ideas every time.