In today’s digital age, educational platforms are revolutionising the way students learn, making it more interactive and engaging. Among these platforms stands Blooket, a dynamic tool that transforms traditional learning into exciting games and quizzes. Comparable to popular platforms like Gimkit and Kahoot, Blooket injects fun into education through gamification. This guide aims to demystify the basics of Blooket, offering a straightforward approach for users to explore its features and maximize its potential in the realm of education.
Step 1 – Getting Started
1. Visit the website
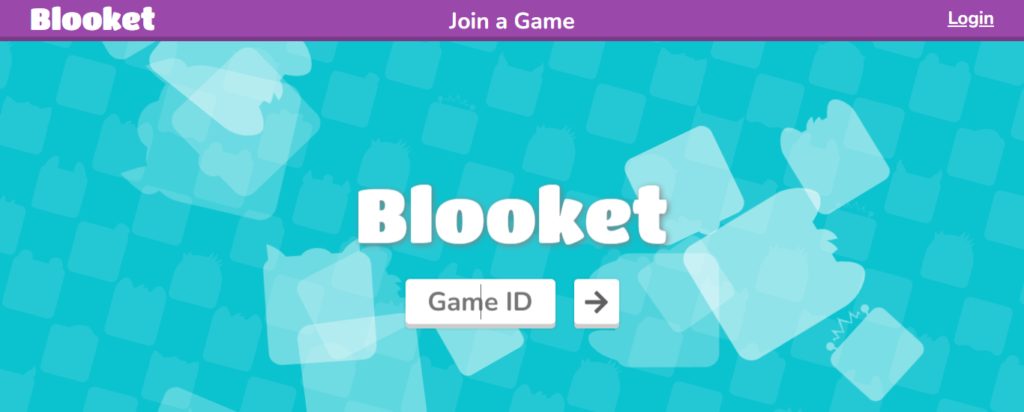
Go to Blooklet official website. More precisely, visit https://www.blooket.com/ for quick access.
2. Create an account
If you’re new to Blooket, sign up by filling in the required information on the website. If you already have an account, simply log in using your email or Google account credentials.
Step 2 – Exploring the Blooket homepage
1. Dashboard Overview
Upon logging in, you’ll be directed to your dashboard. Here, you can find various sections such as stats, blooks, news, homework, and game sets.
- The “News” section provides updates and announcements from Blooket.
- “My Sets” lists all the game sets you’ve created.
- “Favorites” displays sets you’ve marked as favourites.
- “Homework” shows assigned tasks.
- “History” presents your past gaming activities.
2. Navigating the Blooket toolbar
At the top of the screen, you’ll see a purple toolbar providing quick access to essential features.
- The Play button lets you join Blooket games.
- Discover allows you to search for new games.
- Dashboard takes you back to your dashboard.
- Create enables you to craft new question sets.
- Stats shows your past game scores.
- Market allows you to purchase Blooks.
- Blooks displays your collection of Blooks.
- Settings lets you manage your account preferences.
- Logout logs you out of your Blooket account.
Step 3: Playing and creating Blooket games
1. Joining a game
Enter a game using the provided 6-digit code and your chosen username.
2. Discovering games
Use the “Discover” button to find games related to your interests. Save favourites or report inappropriate games as needed.
3. Creating Blooket game sets
To create your own game set, provide a title, description, and cover image. Choose privacy settings and creation methods before finalizing your set.
Step 4: Managing blooks
1. Viewing Blooks
Click on the “Blooks” button to see all the Blooks you’ve acquired. Each Blook has its own name, sellability, and rarity.
2. Sorting Blooks
Sort your Blooks by common, uncommon, rare, epic, legendary, or chroma rarities.
Step 5: Buying and Selling Blooks
1. Marketplace
Explore themed boxes/categories of Blooks such as Medieval, Wonderland, Breakfast, Space, Bot, Aquatic, Safari, and Dino.
2. Purchasing Blooks
Use your tokens to buy Blooks from themed boxes. Confirm your selection and receive a randomly chosen Blook from the box.
Step 6: Checking Blooket stats
1. Tracking progress
Monitor your game statistics, including games played, tokens earned, players defeated, and more.
2. Customising blooks
Use the Class Pass feature to customize your own Blooks, with options for hair, eyes, nose, mouth, skin tone, and clothing.
Final thoughts on using Blooket
Blooket offers a dynamic platform for educators and students alike to engage in interactive learning experiences. By following these simple steps, you can easily navigate Blooket’s features and make the most out of its educational games and quizzes.


